The house painting process involves several steps to ensure a smooth and successful transformation of your home’s interior or exterior. Here is a general overview of the typical house painting process:
1. Initial Assessment:
- Interior Painting: The painter assesses the condition of walls, ceilings, and trim. They may identify areas that need repairs, such as cracks, holes, or water damage.
- Exterior Painting: The painter inspects the exterior surfaces, looking for any signs of damage, peeling paint, or mildew. They may also check for areas that require repair or preparation.
2. Surface Preparation:
- Interior Painting:
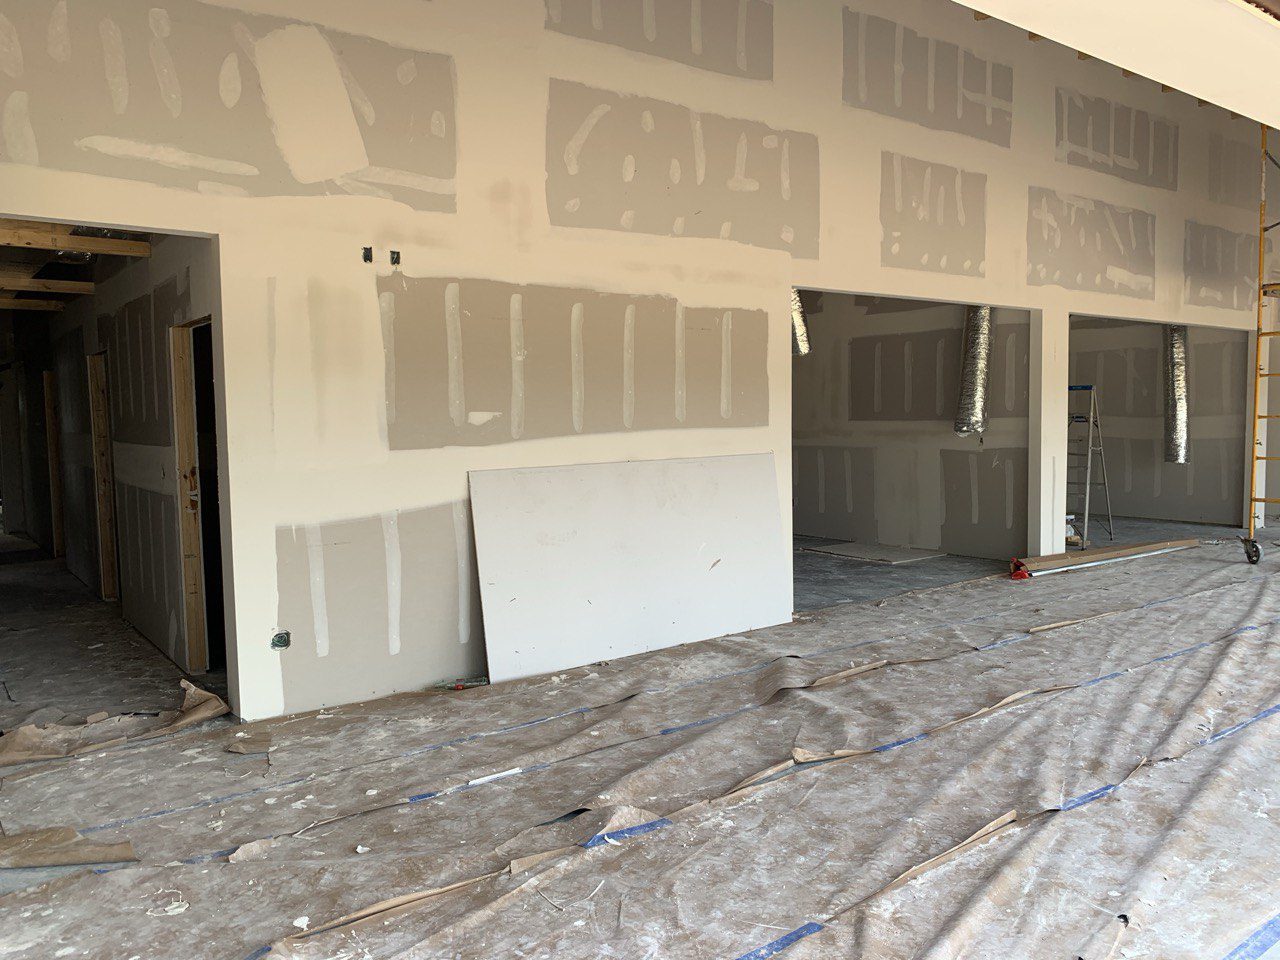
- Repair any imperfections, such as holes or cracks, using spackle or joint compound.
- Sand the surfaces to create a smooth and even base for the paint.
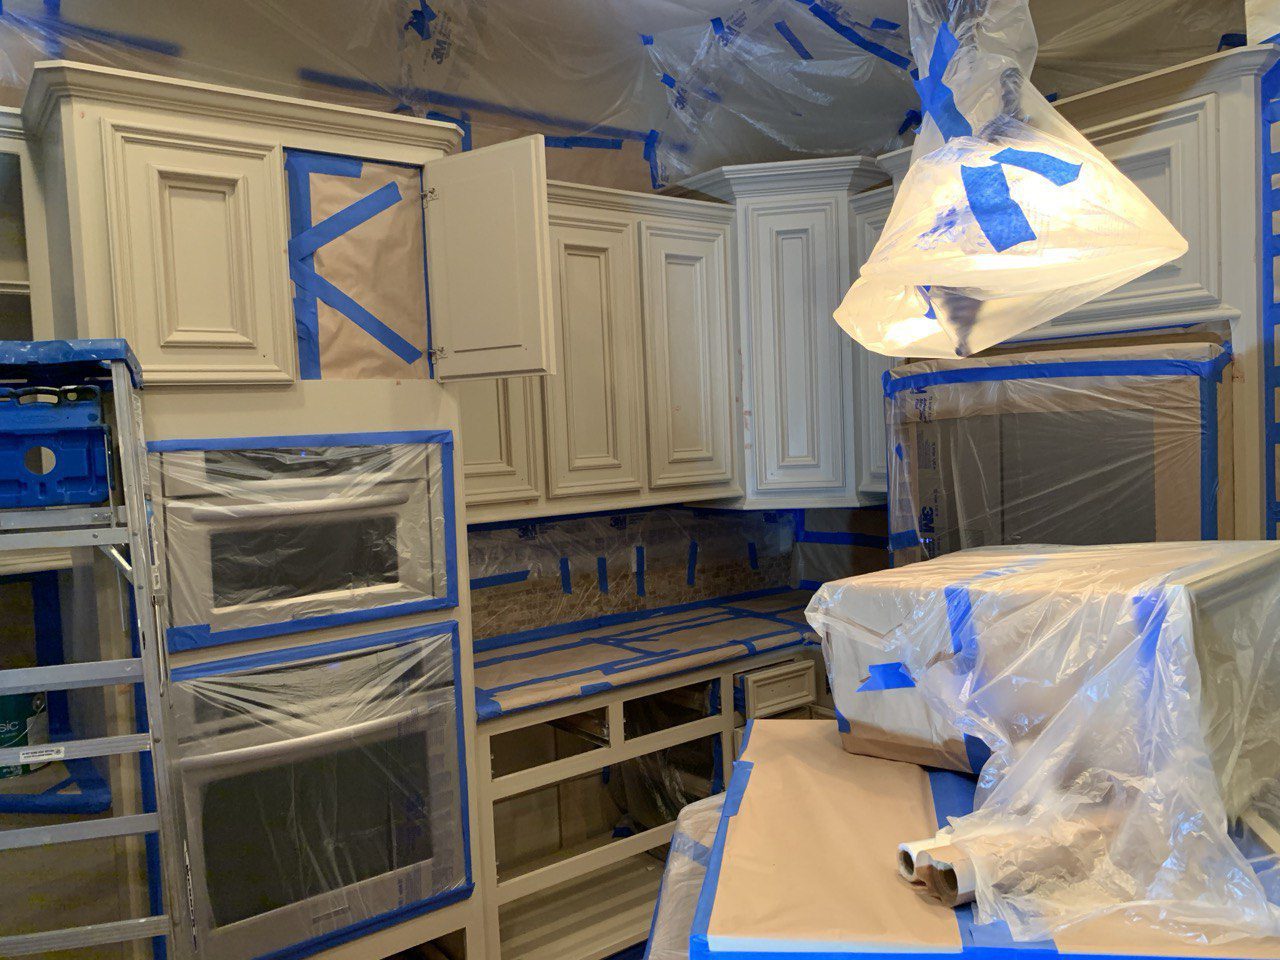
- Protect floors, furniture, and fixtures with drop cloths or plastic sheeting.
- Exterior Painting:
- Power wash the exterior to remove dirt, mildew, and loose paint.
- Scrape off any peeling or blistering paint.
- Caulk gaps around windows, doors, and trim to create a weather-tight seal.
3. Priming:
- Apply a primer to create a uniform surface and enhance paint adhesion. Primer is especially crucial for new surfaces, bare wood, or areas with stains.
4. Color Selection:
- Choose the paint colors for your project. Some painting companies may offer color consultation services to help you make informed decisions.
5. Paint Application:
- Use high-quality paint and apply it evenly for a smooth finish.
- Interior Painting:
- Paint walls, ceilings, and trim in the chosen colors. Cut in edges with a brush and use rollers for larger areas.
- Apply additional coats as needed for color depth and consistency.
- Exterior Painting:
- Paint the siding, trim, doors, and other exterior elements.
- Apply multiple coats for durability and protection against the elements.
6. Detail Work:
- Pay attention to details, such as window frames, moldings, and other architectural elements.
- Ensure clean lines and neat edges for a professional appearance.
7. Clean-Up:
- Remove painter’s tape, protective coverings, and any debris.
- Clean tools and dispose of leftover paint and materials responsibly.
8. Final Inspection:
- Walk through the painted areas to inspect the work.
- Address any touch-ups or areas that require additional attention.
9. Client Approval:
- Present the finished project to the client for approval.
- Discuss any final details or touch-ups needed.
10. Documentation and Warranty:
- Provide documentation of the work performed, including paint colors and any warranties.
- Discuss maintenance tips and care instructions.
11. Follow-Up:
- Some companies may follow up with clients to ensure satisfaction and address any post-painting questions or concerns.
Remember that specific steps may vary based on the scope of the project, the type of surfaces being painted, and the preferences of the homeowner or client. Hiring a professional painting company can streamline the process and ensure a high-quality, long-lasting finish.